






How to create a token on TRON: Step by step (+ no-code tools)
If you want to learn how to create a token on TRON quickly, safely and efficiently, you’re in the right place. In this guide I’ll walk you through, step by step, how to bring the token you have in mind to life in under 3 minutes.
TRON is an EVM-compatible chain that doesn’t use gas but ‘Energy’ instead, which means transactions can be completely free. We cover this in more depth in our post about how the TRON network works, but for now let’s jump straight into the guide to launching a coin.
What you need before deploying your TRC-20
- A TRON wallet. TronLink is the go-to, but among the most common options you can also use WalletConnect, Trust Wallet, IronWallet, and many others.
- TRX in that wallet to cover the tool fee and the Energy the deployment will consume.
- Name, symbol and supply already decided.
How to create a token on TRON step by step
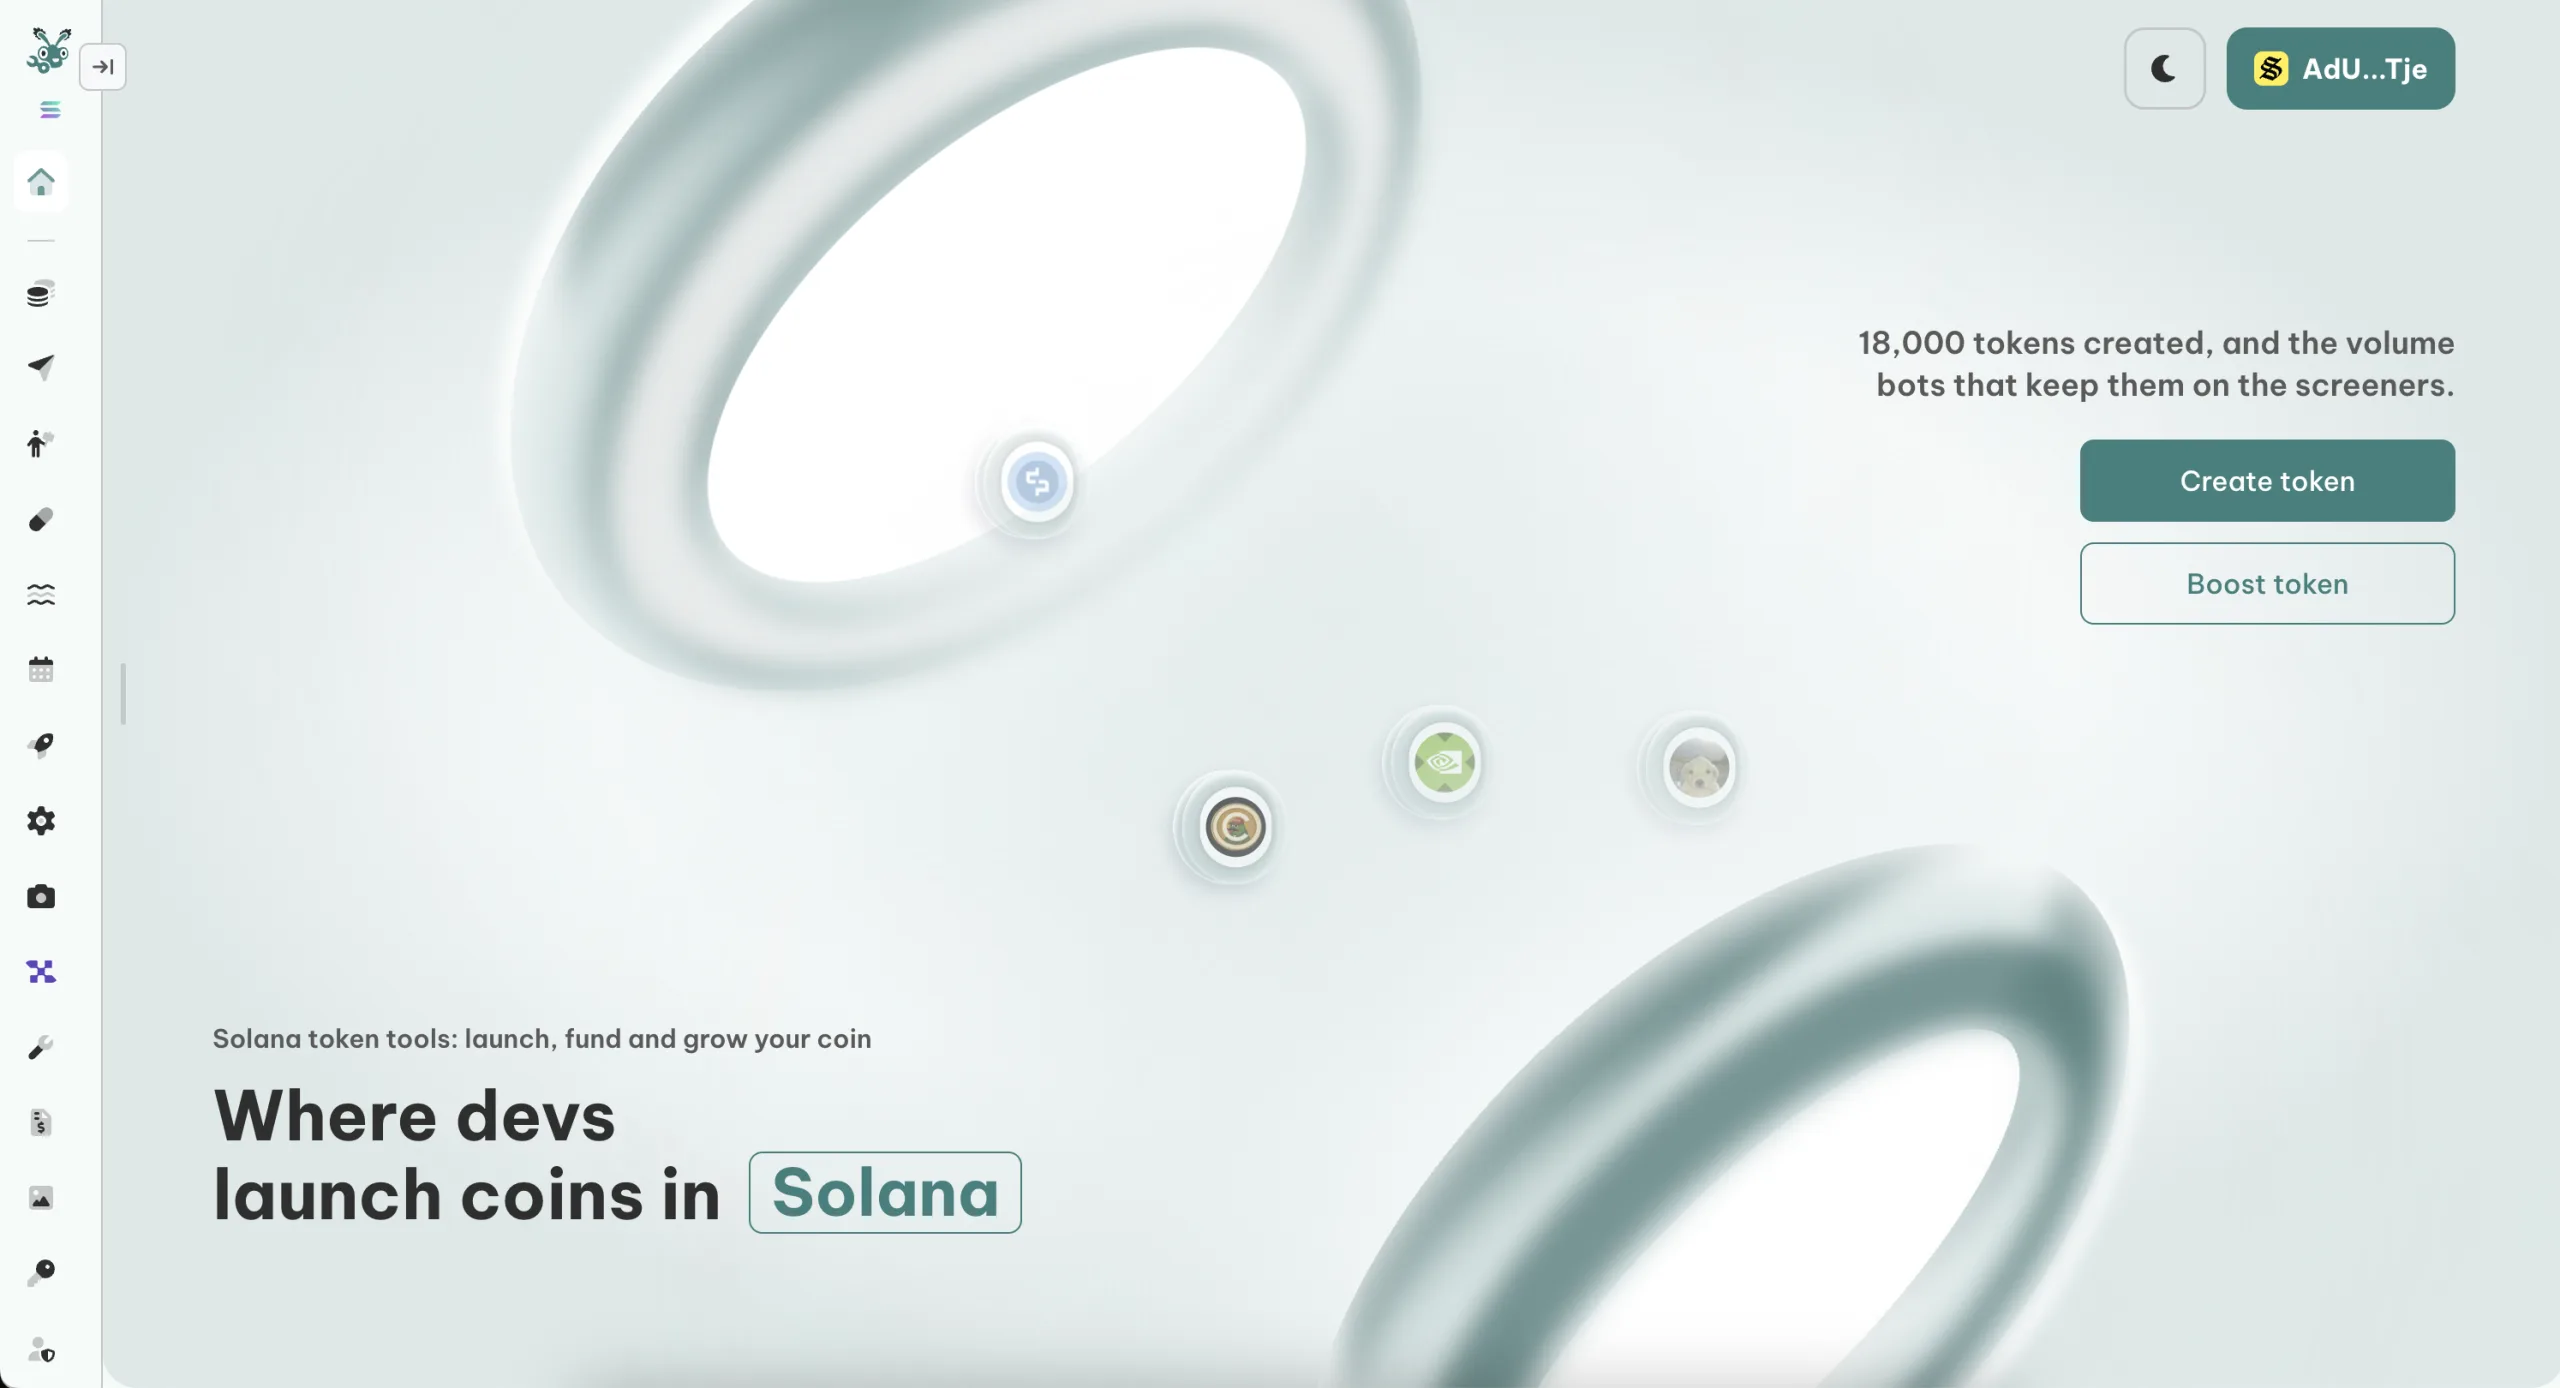
The TRON Token Creator by Smithii deploys the contract for you and delivers the token straight to the connected wallet, with no compiling and with added EVM features. All you have to do is customize the token, pick extras if they fit your strategy, and confirm. Once inside you’ll see this interface:
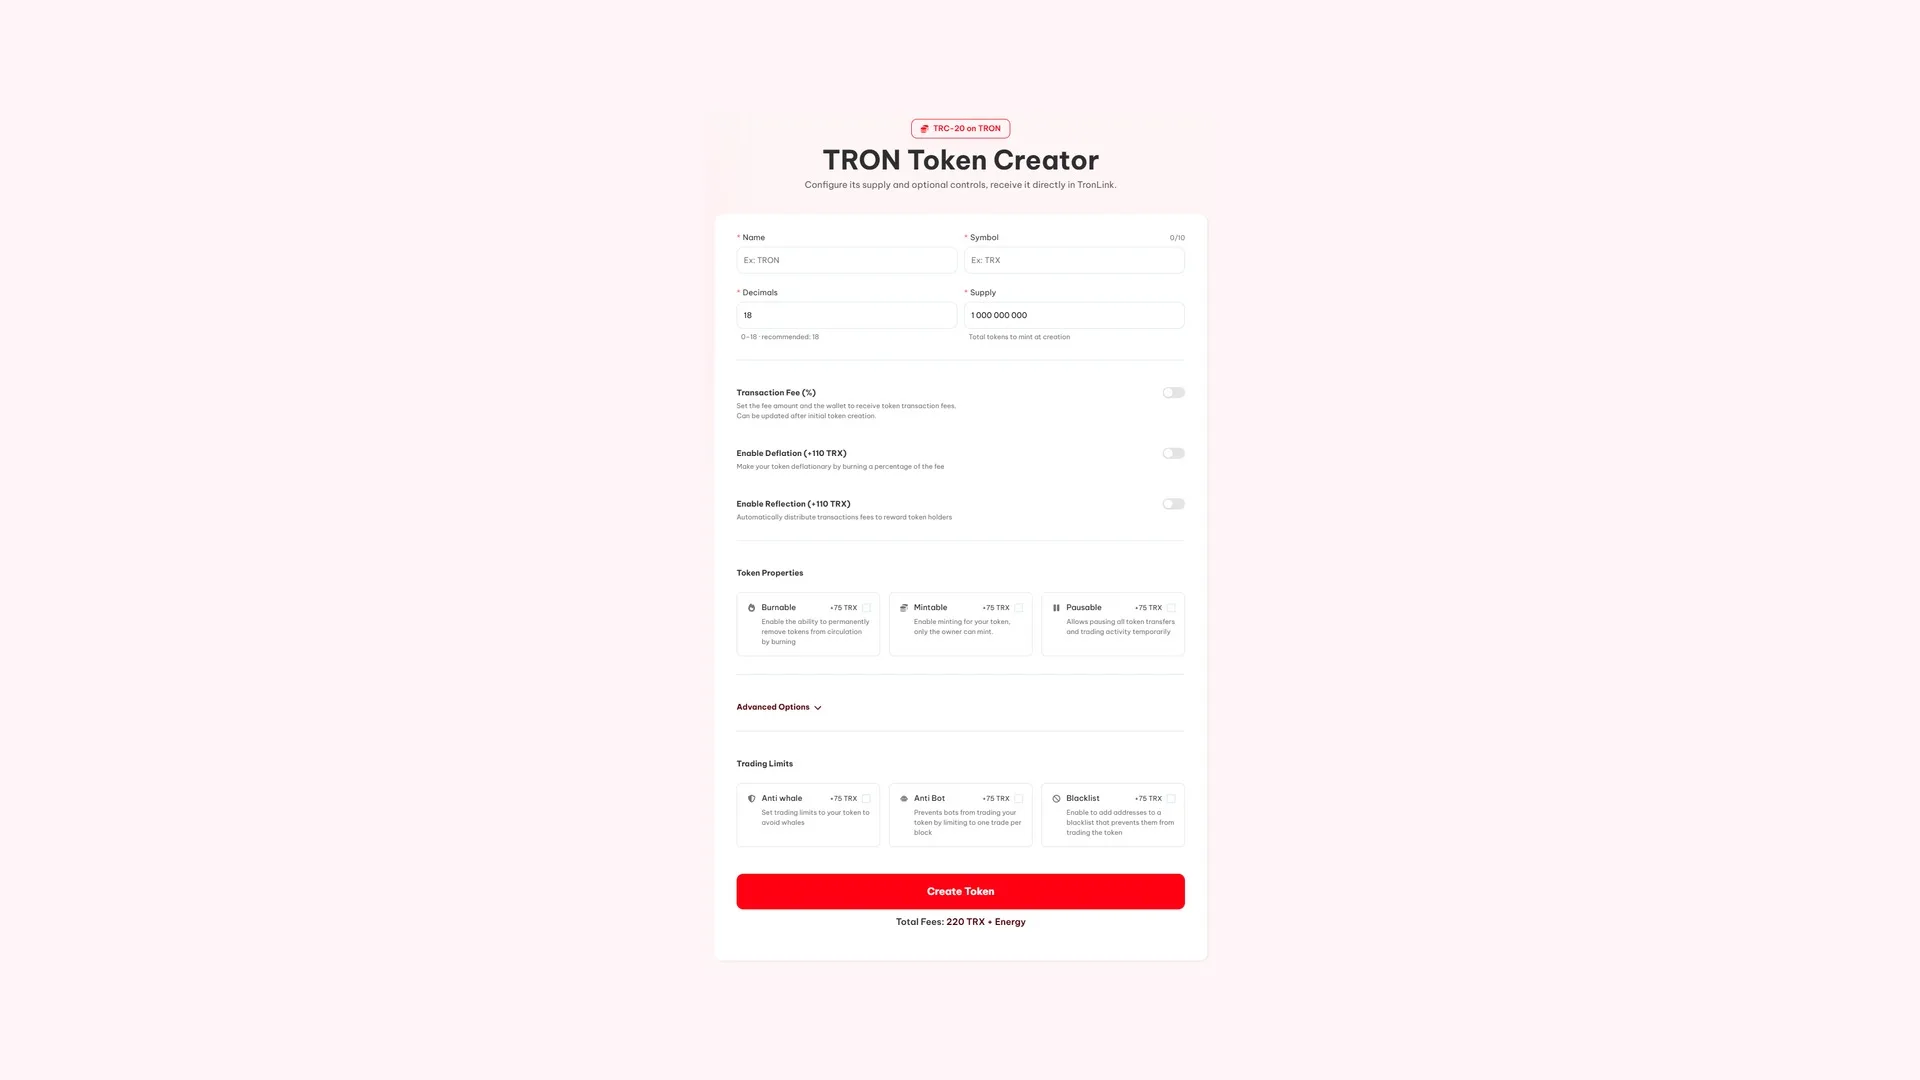
With the funded wallet already connected and the new token name decided, here’s what to do:
- Fill in the identity: Name and Symbol, the latter with a max of 10 characters.
- Set decimals and supply: Decimals accepts 0 to 18 and 18 is the recommended value. Supply is the total minted when you launch a token on TRON.
- Decide if the token charges a fee: the Transaction Fee toggle lets you set a percentage and the wallet that receives it. It costs nothing and can be changed later.
- Add the extras you need: Deflation and Reflection at 110 TRX each; Burnable, Mintable and Pausable at 75 TRX each.
- Review the trading limits: Anti whale, Anti Bot and Blacklist, also at 75 TRX each, inside the Trading Limits block.
- Hit Create Token: the bottom of the form shows the total before you sign.
How much it costs to deploy a TRC-20 on TRON
The baseline is 220 TRX plus the Energy the deployment consumes. On top of that, every optional feature adds up. Here’s the full list:
| Item | What it adds | Cost |
|---|---|---|
| Base deployment | TRC-20 contract with name, symbol, decimals and supply | 220 TRX |
| Transaction Fee | Transaction fee, editable after launch | Free |
| Deflation | Burns a percentage of the fee | +110 TRX |
| Reflection | Distributes the fee across holders | +110 TRX |
| Burnable, Mintable, Pausable | Burn, mint more, or pause transfers | +75 TRX each |
| Anti whale, Anti Bot, Blacklist | Trading limits and address blocking | +75 TRX each |
A bare-bones token costs the 220 TRX base fee. One with all six extras checked runs 670 TRX, plus Energy. Only check what you’re actually going to use: every box bakes more logic into the contract, and logic you don’t use is attack surface and cost with nothing to show for it.
The boxes you won’t be able to uncheck later
Optional features get written into the contract at deploy time. If you skip them now, adding them later isn’t an option: you’d have to deploy a new contract and migrate every holder over, which in practice means starting from scratch.
The one exception is the Transaction Fee. Both the percentage and the wallet that receives it can be changed after the token is live, so you’ve got some room to maneuver there.
The one we see people trip over most is Mintable. Leaving it on ‘just in case’ feels safe, but a contract that can print more supply is exactly what anyone checks before buying. If your tokenomics doesn’t call for future emissions, leave it unchecked.
When you’re ready to lock the contract down for good, check out what renouncing ownership on TRON actually means
What to do after launching your token on TRON
A deployed contract isn’t tradeable yet. It’s missing the piece that gives it a price: a market where someone can actually buy it.
The next step is to create a liquidity pool on SunSwap, the go-to DEX on the network. That’s where you decide which asset your token is paired with and how much depth the pair has, and those two numbers set the initial price. After that, if you’re distributing it across a community, the multisender handles the batch payout.
If you want your freshly minted token to have a price, you need to create a liquidity pool for your TRC-20 token
FAQ
How much does it cost to create a token on TRON?
Base deployment is 220 TRX plus whatever Energy the operation burns. Optional features add on top: 110 TRX for Deflation or Reflection, and 75 TRX per property like Burnable, Mintable, Pausable, Anti whale, Anti Bot, or Blacklist. The total shows up at the bottom of the form before you sign.
What is Energy and why do I need it?
It’s the resource TRON burns when executing a smart contract, and deploying a token counts as one. You can get it by freezing TRX (which you recover when you unfreeze), or let the network burn TRX from your balance to cover the shortfall. Freezing pays off if you’re planning to operate regularly.
Can I add features after creating the token?
No. Properties are written into the contract when you deploy it, so anything you don’t check stays off forever. The only one you can change later is the Transaction Fee: both the percentage and the wallet that receives it can be updated down the line.
What wallet do I need to operate on TRON?
TronLink is the most widely used one, and it’s the token that receives the token when you create it. Any WalletConnect-compatible wallet works too. The wallet that signs the deployment is the one that receives the supply and becomes the contract owner, so connect the right one from the start.
Can my token be bought right after deploying it?
No. A deployed contract lives on the blockchain but has no market and no price. To make it tradable you need to create a liquidity pool, on TRON usually on SunSwap, pairing it with TRX or a stablecoin and seeding the initial depth.
Final thoughts
Deploying the contract is the easy part, and the fastest step in the whole process. What you want to think through first are the two things you can’t undo: which properties you check, because they’re written in for good, and how you’re going to cover Energy, because that decides what it costs to operate from there on.
With those two settled, the rest is filling out a form and signing. If you want to see how the network’s resources work under the hood, it’s covered in the official TRON documentation on its resource model.
Your TRC-20 is live. Now it’s time to distribute it, spin up the pool, and get eyes on it. You’ll find the full playbook in the definitive dev guide on TRON.

Content creator and SEO contributor at Smithii. Systems Engineering student and crypto-tech enthusiast.