

How to Create a token on Robinhood Chain (No Code, Takes Minutes)
If you’re wondering how to create a token on Robinhood Chain, we’ve got good news: you no longer need to be a developer or know how to code. In this guide you’ll launch a real ERC-20 token on Robinhood Chain without writing a single line of code, set it up properly with Anti-Bot and Anti-Whale protection, and understand every setting before you confirm. All for a flat fee of 0.03 ETH.
Robinhood Chain launched on July 1, 2026 as a Arbitrum Orbit L2 that settles on Ethereum. It’s 100% EVM-compatible, its gas token is ETH, and it shipped on day one with Uniswap (v2, v3, v4), UniswapX, and a Chainlink oracle. Put simply: it behaves just like Ethereum for builders, but with cheaper and faster transactions. That makes it one of the best places right now to create an ERC-20 token and see it actually trade.
If you’d rather watch than read, here’s the full walkthrough with everything you need to know and the best tips for launching a token on Robinhood:
What is an ERC-20 token on Robinhood Chain?
An ERC-20 token is the standard smart contract format for fungible tokens on any EVM network. Since Robinhood Chain is fully EVM-compatible, any ERC-20 you deploy there works with the same wallets you already use (MetaMask, Rabby, any EVM wallet), the same explorers, and the same DEX tooling. Your token can be a utility token, a community token, a governance token, or a memecoin. The standard is identical. The only thing that changes is the network underneath.
The bottleneck has always been the contract itself. Writing, auditing, and deploying an ERC-20 by hand is where projects burn time and money. Hiring a developer to write your token contract is expensive, usually $200 or more. That’s exactly why online Smithii tools exist: to open crypto to anyone and let you launch your own token without writing a single line of code.
If instead of a standard ERC-20 you want to launch on a bonding curve, the path is different: check out what Pons is and how its launcher works before deciding.
How much does it cost to create a token on Robinhood Chain?
The Robinhood Chain Token Creator charges a flat fee of 0.03 ETH, plus a small gas fee. Compare that to the $200+ you’d pay a developer: you’re deploying a fully audited ERC-20 contract for a fraction of the price and in about a minute. No subscription, no hidden mint fees, no cut of your supply.
Since gas token on Robinhood Chain is ETH, make sure you have some ETH on the Robinhood Chain network before you start, both for the tool fee and for gas.
Before you start you need three things: an EVM wallet (MetaMask, Rabby, or any wallet with WalletConnect), Robinhood Chain added to that wallet (RPC https://rpc.mainnet.chain.robinhood.com, chainId 4663), and some ETH on the network for the 0.03 ETH fee plus gas. If you haven’t added the network yet, our guide on how to add Robinhood Chain to your wallet gets it done in under a minute. A marketing plan isn’t required, but having one ready makes launch day run much smoother.
How to create a token on Robinhood Chain, step by step
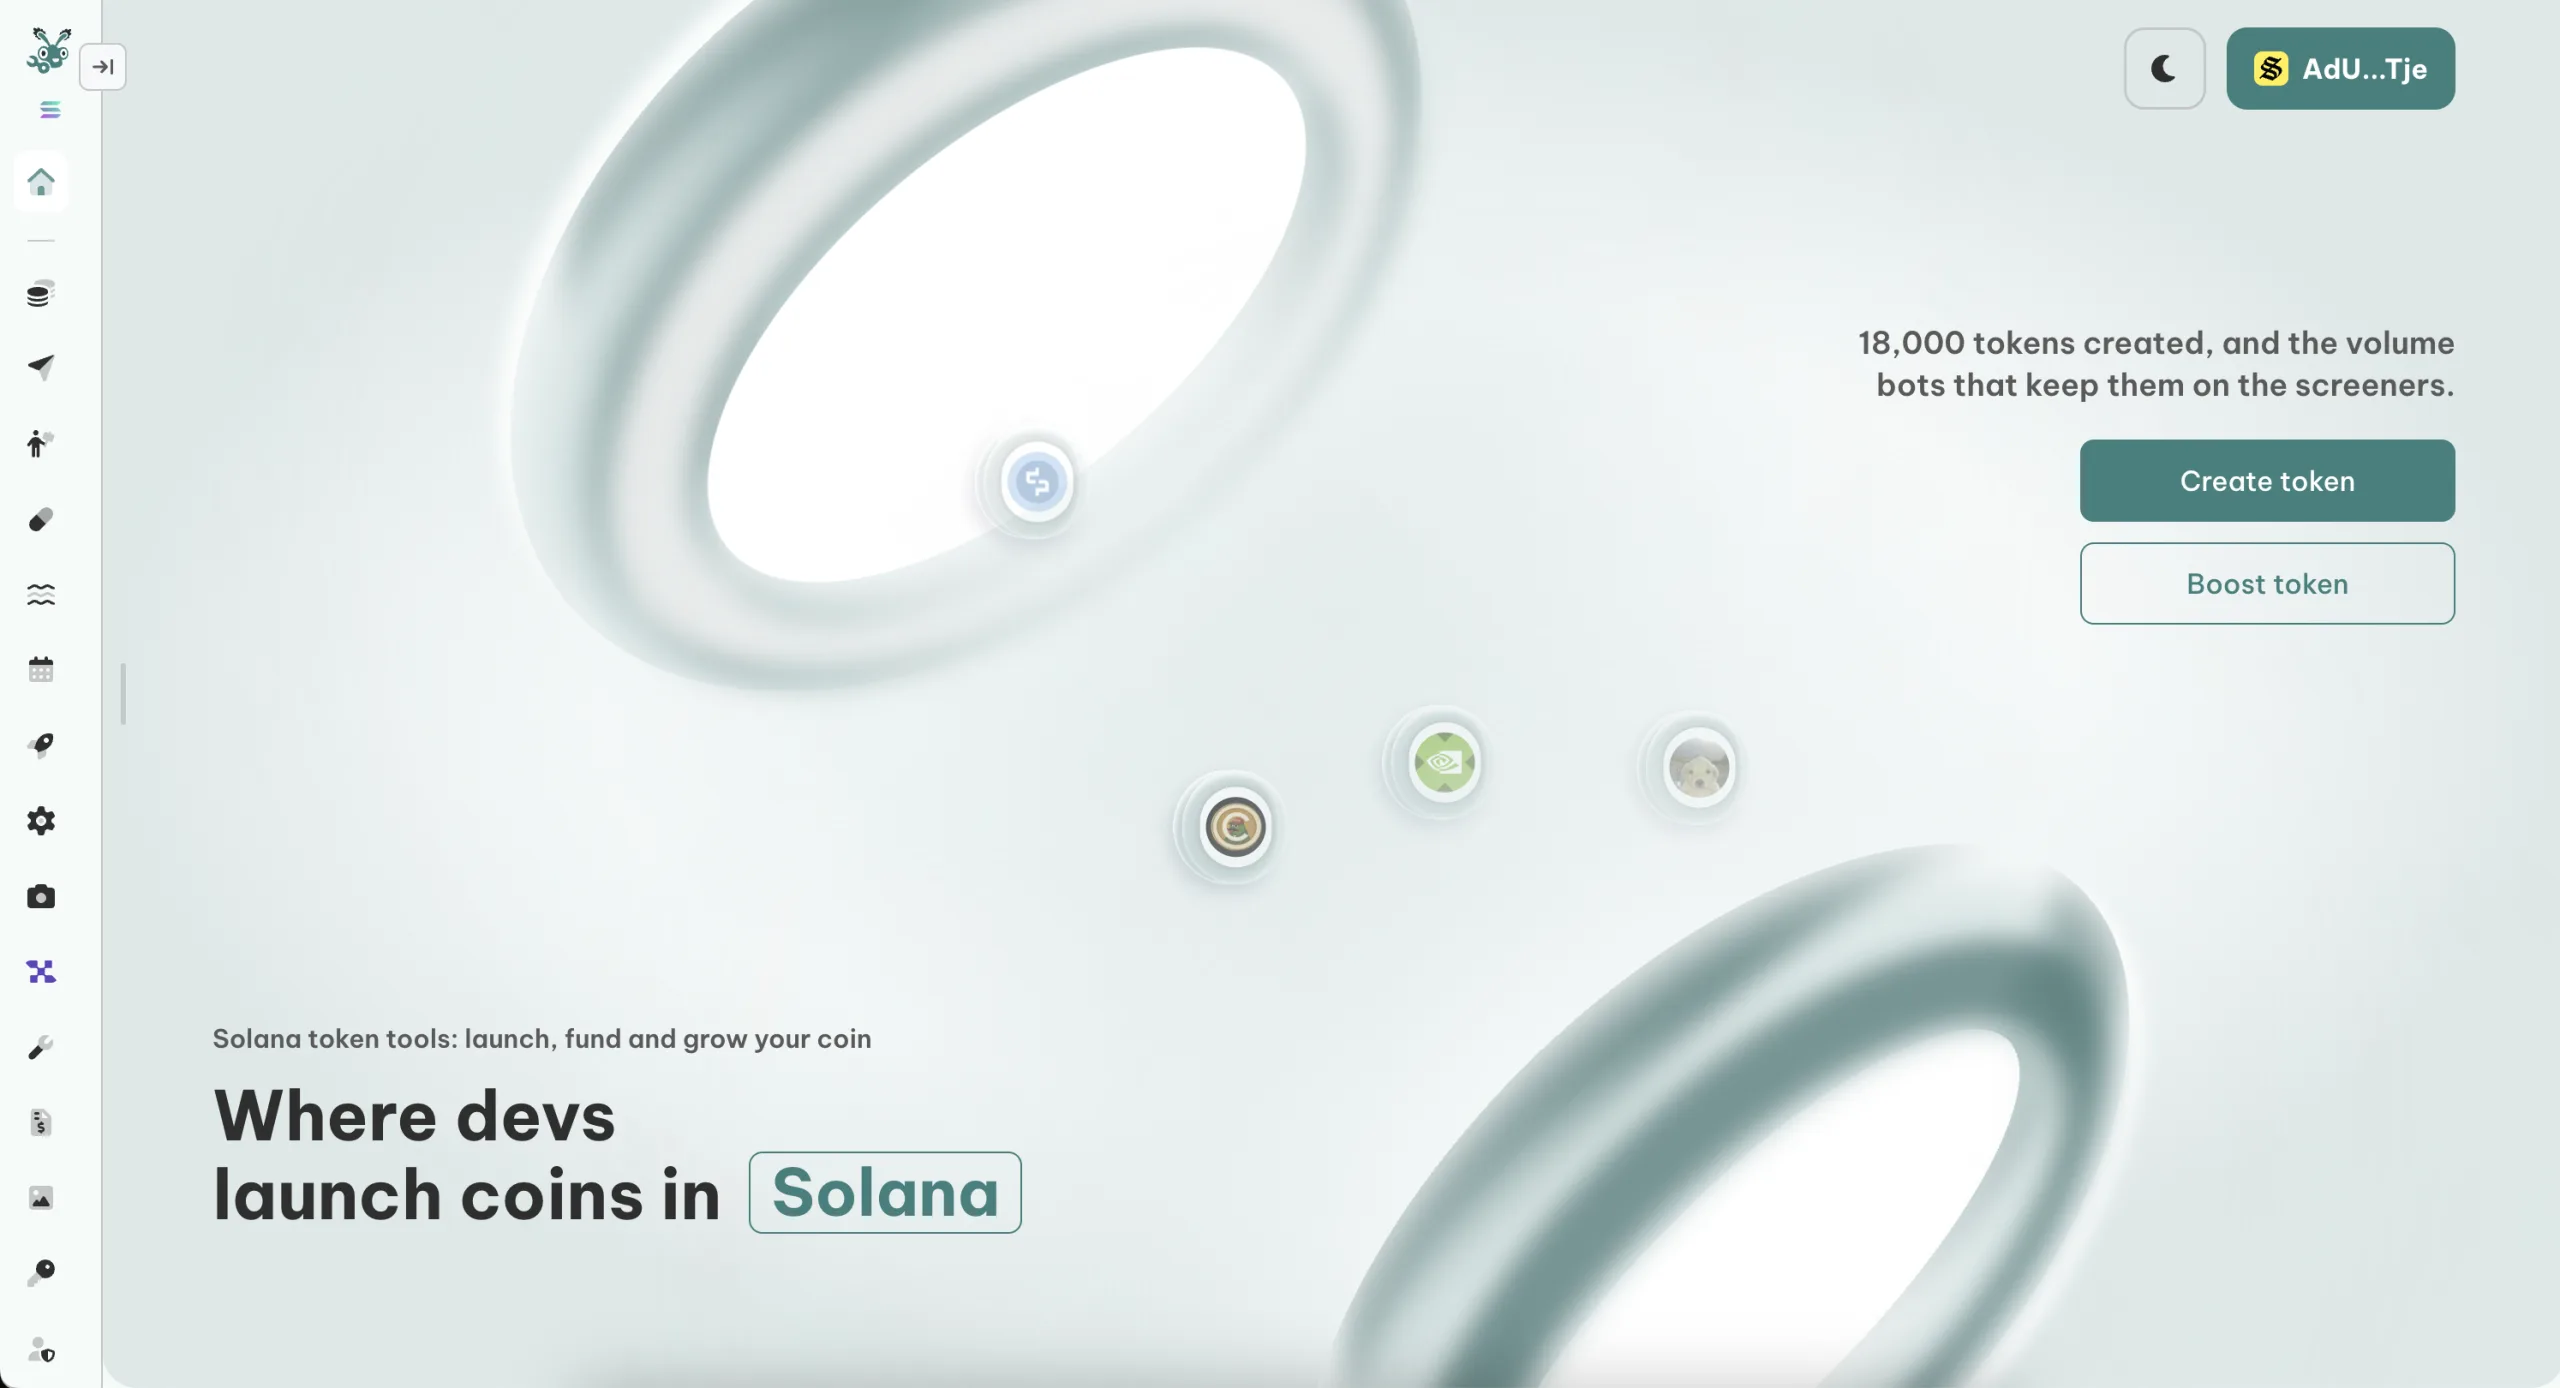
The dApp we’re going to use is the Robinhood Chain Token Creator from Smithii. It works as a no-code ERC-20 generator and deploys directly on Robinhood Chain. Here’s the full flow:
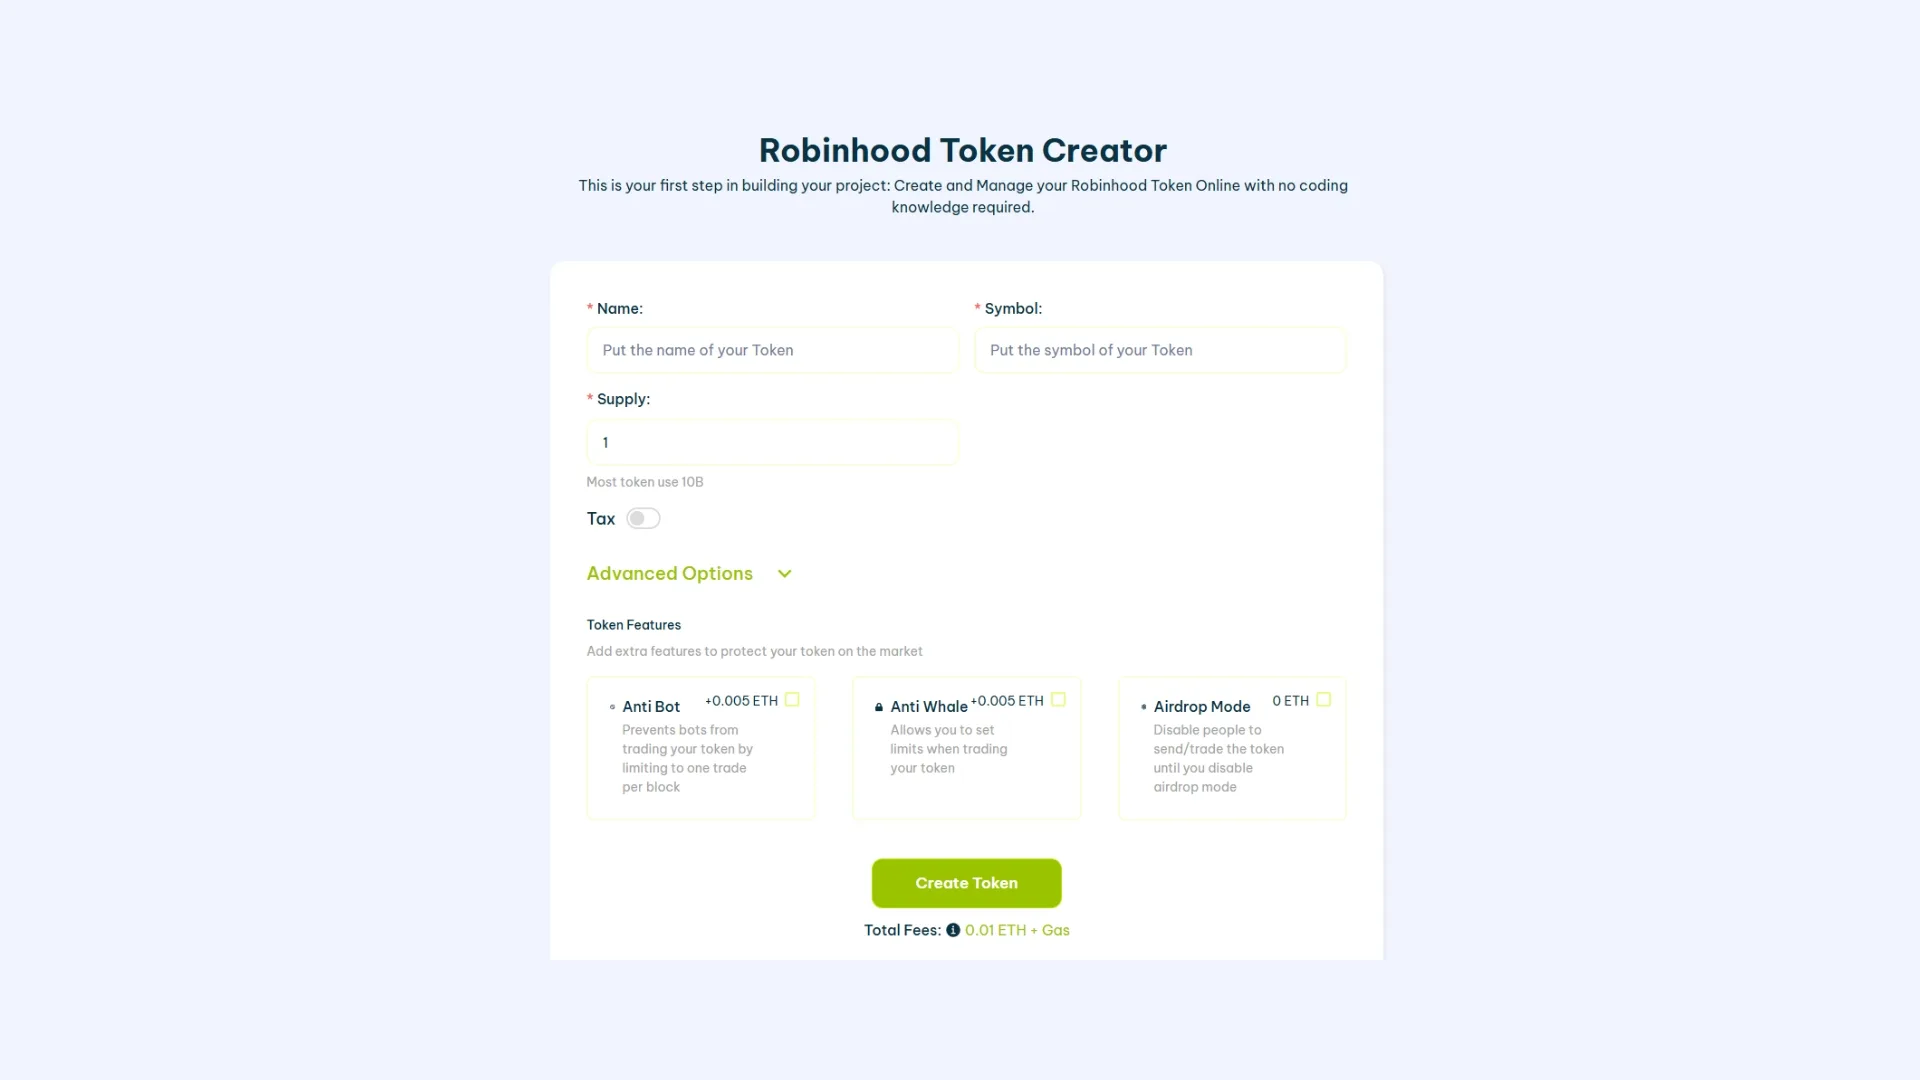
- Open the tool: head to the Robinhood Chain Token Creator and confirm that the network selector is set to Robinhood Chain.
- Connect your wallet: hit Connect and approve with MetaMask, Rabby, or any EVM wallet. If you don’t have Robinhood Chain added yet, add it first (RPC
https://rpc.mainnet.chain.robinhood.com, chainId 4663). - Name and symbol: set the name and ticker for your token. Keep the ticker short, unique, and easy to remember.
- Set the supply and decimals: pick your total supply and decimals (18 is the ERC-20 standard). This is the total amount that will exist at launch.
- Configure the token settings: pick your mintable, burnable, and ownership options (full detail in the next section).
- Add protections (optional): turn on Anti-Bot and Anti-Whale if you want launch defenses built in.
- Click Create Token, confirm the 0.03 ETH transaction in your wallet, and wait a few seconds. Your token shows up in your wallet and you own it fully.
That’s it. In about a minute you’ve deployed a real ERC-20 token on Robinhood Chain, with zero coding. You can verify the contract on the block explorer at robinhoodchain.blockscout.com, the official Blockscout explorer for the network.
Anti-Bot and Anti-Whale Protection
The moment a token becomes tradable, sniper bots will try to buy in the first block and dump it on your community. Whales try to accumulate a dominant position before anyone else reacts. Both wreck a launch. Robinhood Chain ships both defenses as add-ons:
- Anti-Bot (0.01 ETH): blocks automated sniping in the first few blocks after you open liquidity, so real buyers get a fair shot instead of bots front-running everyone.
- Anti-Whale (0.01 ETH): caps the maximum a wallet can hold or the max transaction size, which stops any single address from hoarding your supply and keeps distribution healthier.
You can turn them on directly inside the Token Creator flow, so your protections are live from block one. If you want to dig deeper into how anti-sniper defenses work, our guide on how to create a meme coin on Robinhood Chain shows you exactly when and why to enable them.
What to do after launching your token
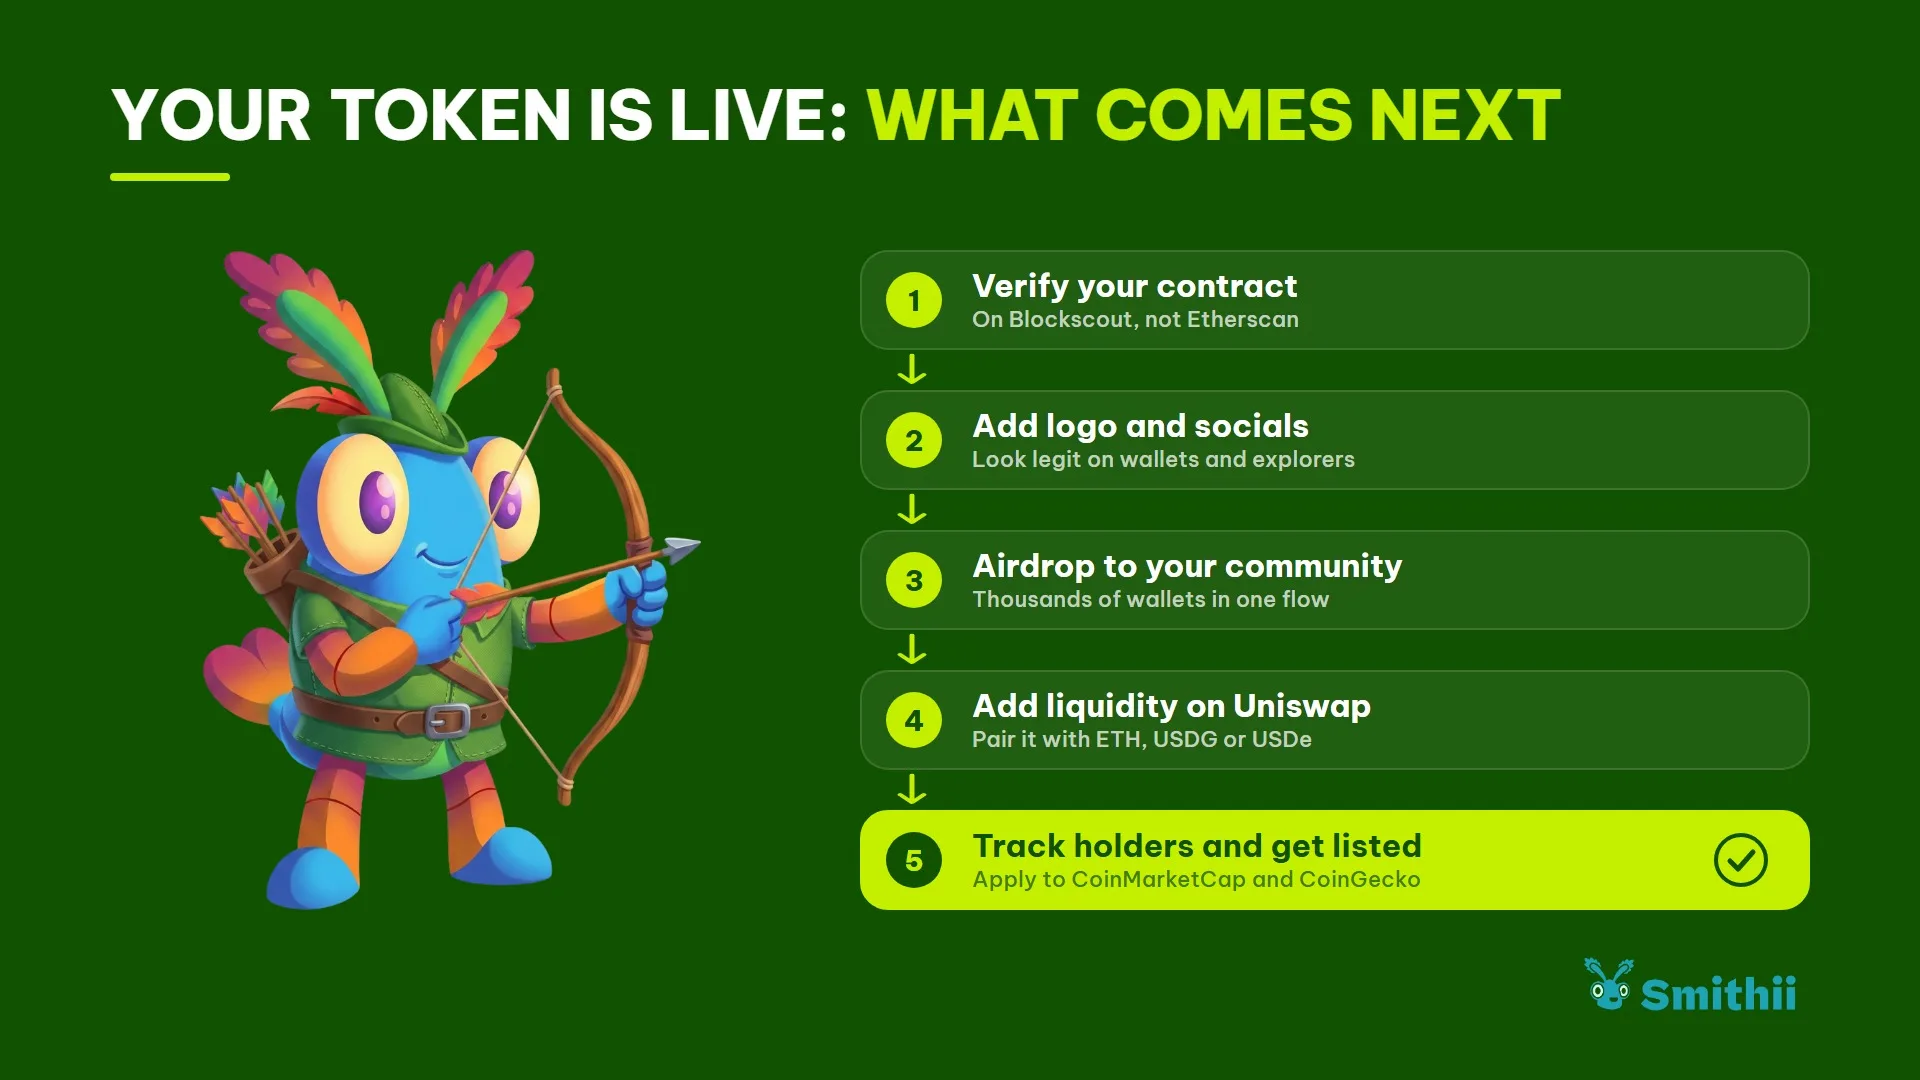
Creating the token is just step one. To make it real, this is the natural path on Robinhood Chain:
- Verify your contract so holders can trust and read the code. On Robinhood Chain verification goes through Blockscout, not Etherscan. See how to verify an ERC-20 contract on Robinhood Chain.
- Add a logo and socials so your token looks clean on explorers and wallets. Follow add a logo and socials to your token on Robinhood Chain.
- Distribute to your community with a bulk airdrop instead of hundreds of manual transfers. Check how to run an ERC-20 airdrop on Robinhood Chain and send to thousands of wallets in a single flow, for just 0.00015 ETH per recipient wallet plus gas.
- Add liquidity so it can be traded. Create a liquidity pool on Robinhood so your token is tradable from the very first moment. Pair your token with ETH or with a stablecoin like USDG or USDe, deposit both sides, and your token becomes buyable. The more liquidity, the less slippage for your buyers.
- Check your holders and gain visibility. Pull the holders list for your token on Robinhood Chain to keep an eye on distribution, and once you have liquidity and holders, apply for free to CoinMarketCap and CoinGecko listings.
Serious about volume and a healthy chart? Smithii also has a Robinhood Chain Volume Bot and a Market Maker bot to keep your pool active once your token is live. In practice, both tools are the same one.
New to the network? Start with what Robinhood Chain is and how to add Robinhood Chain to your wallet before you deploy.
FAQ
How much does it cost to create a token on Robinhood Chain?
The Token Creator on Smithii charges a flat fee of 0.03 ETH plus a small gas fee. Since ETH is the native token gas on Robinhood Chain, you pay everything in ETH.
Do I need to know how to code?
No. The Token Creator deploys a fully audited ERC-20 contract for you. You fill in a form, confirm a transaction, and your token is live, with zero coding knowledge required.
Is Robinhood Chain EVM-compatible?
Yes. Robinhood Chain is an Arbitrum Orbit L2 that settles on Ethereum and is 100% EVM-compatible. Your ERC-20 works with standard EVM wallets, tools, and DEXs like Uniswap with zero extra setup.
How do I protect my launch from bots?
Enable Anti-Bot (0.01 ETH) to block sniping in the first blocks and Anti-Whale (0.01 ETH) to cap the maximum size per wallet. Both are toggled inside the Token Creator flow.
How do I make my token tradable after creating it?
When you create the token, the full supply is minted to your wallet, but it can’t be traded until you add liquidity. Open a pool on Uniswap (v2, v3, or v4, all live on Robinhood Chain), pair your token with ETH or with a stablecoin like USDG or USDe, and deposit both sides. As soon as the pool is live, anyone can buy and sell your token.
Where do I see my token after creating it?
Your token shows up instantly in your wallet and on the Robinhood Chain block explorer at robinhoodchain.blockscout.com. Heads up: Robinhood Chain uses Blockscout, not Etherscan.
Conclusion
Now you know exactly how to create a token on Robinhood Chain: connect a wallet, name your token, set the supply, tune your Token Settings, add Anti-Bot and Anti-Whale if you need launch defenses, and confirm one single transaction of 0.03 ETH. No developer, no smart contract knowledge, no wasting a week. The Smithii suite is the all-in-one solution for web3 projects, and Robinhood Chain is a fresh, fast, 100% EVM-compatible home for your token.
Don’t forget to subscribe to our newsletter to hear about every new tool and token opportunity on Robinhood Chain before anyone else.
The complete Robinhood Chain kit
Everything you need to launch and grow a project on Robinhood Chain, no code and with Smithii:
- Get started: What Robinhood Chain is · best wallets
- Create and launch: create a token · create a meme coin · create a liquidity pool
- Distribute: run a token airdrop · airdrop and testnet guide
- Manage and verify: add logo and socials · verify your contract · see the holders list
- Grow: volume bot · market maker
- Flap volume bot · Trench volume bot · Bankr volume bot
To move treasury funds without leaving a direct link visible on the explorer, pair this guide with private transactions on Robinhood Chain using Robin Hide.

CEO & Co-Founder at Smithii. Building on Solana since 2021 and sharing playbooks from the trenches. Also founder of Lince after years investing in DeFi.